Managing IoT Central Organizations
| Section | Icon | Description |
|---|---|---|
| Organization Dashboard |  |
Common dashboard to display data and information for devices assigned to the organization. Only devices assigned to the org are available to be used within this dashboard’s widgets. |
| Info |  |
Update the organization’s information or image and view or add sub-organizations. |
| Devices |  |
View the list of devices assigned to the org. This section also displays any sub-organizations. |
| Users |  |
View the list of users with access to the organization. |
Creating Organizations
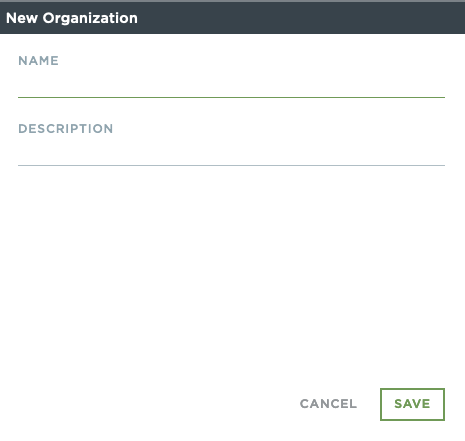
To create a new organization, you must have the Administrator or Manager role. To create new organizations, go to the organizations section, select the organization you want to create the sub-organization under, click on Add. Fill out the name and a description if you want and click Save.
Editing Organizations
To edit an organization, you must have the Administrator or Manager role. To edit organizations, in the Organizations section, navigate to the organization you want to edit. Under the Name and Description, you can simply edit the information and click Save when done. To delete or move an organization, you must select the organization you wish to edit, then select the action you want to do, Delete or Move. If you select Move, you will be given the opportunity to choose the destination organization.
Deleting Organizations
To delete an organization, you must have the Administrator or Manager role. To delete organizations, navigate to the organization you wish to delete, select it and click Action and select Delete Selected. Caution - Deleting an Organization will delete everything owned by that organization: sub-organizations, users in the organization and sub-organizations and devices in the org and sub-organizations.
Creating Users
To create new users, you must have the Administrator or Manager role. To create a user, navigate to the organization you want the user to be a member of. Go to the Users Admin section and click on Add. Fill in the information required and be sure to click on the send email invite checkbox. Then click Create.
Moving Users Between Organizations
To move users between organizations, you must have the Administrator or Manager role. To move a user between organizations, navigate to the user’s organization, then to Users Admin, select the user and click on Action and select Move. Pick which organization you want to move them to and click on Move.
Editing User Roles
To edit user roles, you must have the Administrator or Manager role. Administrators can create additional Administrators, Managers can not. To edit a user role, click on the user and click on the dropdown menu under Role in their Profile. Select the Role you wish the user to have and click Save Changes.
Registering Devices
To register a device to your organization, you must have the Administrator or Technician Role. To add a device, navigate to the organization you want to register the device to and then go to Devices. Click Add and select from an available project to assign to that device. Finally, click on the Create button.
Moving Devices Between Organizations
To move a device from one organization to another, you must have Administrator or Technician Role. To move a device, go to the Table View and select the device. Click on Action and select Move. Navigate to the organization you want to move the device to and click Move.
Deleting Devices
To delete a device from an organization, you must have Administrator or Technician Role. To delete a device, you can select the device, click Action and select Delete, or you can open the Device and click the Garbage Can icon for Delete Device.
View Device Dashboards
To view a device from an organization, you must have a role in that organization. To view a device, click on the device to open the Device Dashboard.
Viewing Devices
The ability to view your devices in different ways is critical for managing your deployments.
To see your organization’s current devices you can click on in the left navigation bar menu.
Customizing Device Table Columns
If you have permission to modify your current organization you will also have the ability to customize the Device Table. These settings will then be inherited by all the sub-organizations under the one you have currently configured, unless a sub-organization’s columns settings are customized separately.
Changing the Columns that Appear
To change what columns are being displayed in the table you can open the settings menu by clicking on the  icon in the top right corner.
You can then select Column Settings to bring up the column setting configuration.
The configuration wizard will ask you to select a device to select the columns that you want to show.
All device share the same Device Info entries, which will appear with (Device Info) next to them.
Not all devices have the same Device Meta Tags or Cloud Storage Data values to select from.
Based on which device you have selected you will then be displayed all the possible values that can be used for columns in the device table.
icon in the top right corner.
You can then select Column Settings to bring up the column setting configuration.
The configuration wizard will ask you to select a device to select the columns that you want to show.
All device share the same Device Info entries, which will appear with (Device Info) next to them.
Not all devices have the same Device Meta Tags or Cloud Storage Data values to select from.
Based on which device you have selected you will then be displayed all the possible values that can be used for columns in the device table.
Reordering Columns
To change the order of the columns in the device table simply drag an drop the column header labels left and right. Once you are done moving the columns around the changes will automatically be saved to the current organization’s device table configuration.
Clearing Columns
To clear the current configuration of columns to the default state, select “Customize Columns” in the settings menu to the right of the table. Then, select the “Clear” button. The device table will then update with the default column settings.
