Creating an API Project and using the Device HTTP API to send Device Events
This guide will demonstrate the basic use of the API Projects available in Studio.
This can be utilized to integrate your own finished embedded devices into Atmosphere IoT without having to use the generated firmware from Atmosphere IoT Studio. You could also use this to create your own Edge Gateway to Atmosphere IoT solution. For example having a gateway read data from fleet of BLE devices to then register and forward data to Atmosphere IoT.
If you wish to read the entire API that is available for Atmosphere IoT look here Atmosphere IoT Platform API v2
Prerequisite: You should already have an Atmosphere account.
Requirements
- A computer with curl installed
Step 1 of 4: Create a New API Project in Atmosphere IoT Studio
The first step for this guide is to create a new Atmosphere IoT Studio project of the type API Project. This API Project will give you the ability to define the behaviour of the Application view as well as the Cloud without needing a specific embedded device to load firmware onto.
- Navigate to the “Projects” section of Atmosphere IoT using the right side navigation menu
- Click on the “New Project” icon
- From the “Create New Project” modal find and select the API Project type, set a name for the new project and click “Create”
You will now find your self in a new project that includes the tabs for the “Application” and the “Cloud” but does not include any embedded plane.
Step 2 of 4: Creating a Device Event and having it stored in a Cloud Storage
For this step we will begin by creating a Device Event and then storage the data that comes to the cloud as that event into a Cloud Storage. Device Events are values that are sent by a device to the cloud that can then be processed by the logic that has been defined in your Atmosphere Project.
- Navigate in your project to the “Cloud” tab
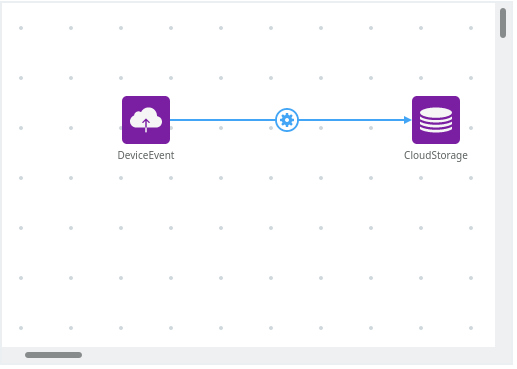
- From the “Element Toolbox” click on the “Device Event” element to add it to the designer area
- From the “Element Toolbox” click on the “Cloud Storage” element to add it to the designer area
- Drag a connector from the newly added “DeviceEvent” to the newly created “CloudStorage”
- Save your project by pressing the
 button in the top right
Your project is now ready to recieve data from a Device Event and storage that data within a Cloud Storage.
Step 3 of 4: Registering a Device via the UI
Now that we have create a project we will now want to register a device against the project you just created.
- Navigate to devices
 in the left hand navigation menu.
 - At the top of the devices table you will click the add button
 .
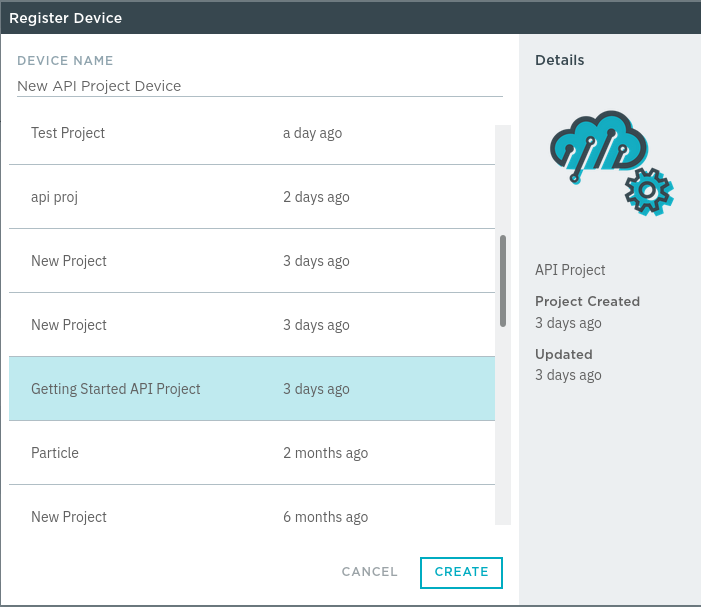
. - You will need to eneter a new name for the device and then select the project we created in “Step 1” and press “Create”.
- Now copy and save the device ID and token displayed on the screen for the next step.
Step 4 of 4: Sending a Device Event via the API
We will now send a device event through the Device Event Element we created in the Cloud plane of our project called “DeviceEvent” using a simple curl command.
curl -X POST -H "Content-Type: application/json" -H "cloud: <TOKEN FROM STEP 3>" -d '142' https://platform.atmosphereiot.com/v2/events/device?elementName=DeviceEvent
The data we are sending up is the value 142 which is being encoded as JSON with the -d option in the curl command.
We can now see this data in our devices storage are and also by using dashboard widgets to display the information as well.
If you changed the name property of the Device Event Element we added in Step 2 you will need to change "DeviceEvent" here to reflect that value
